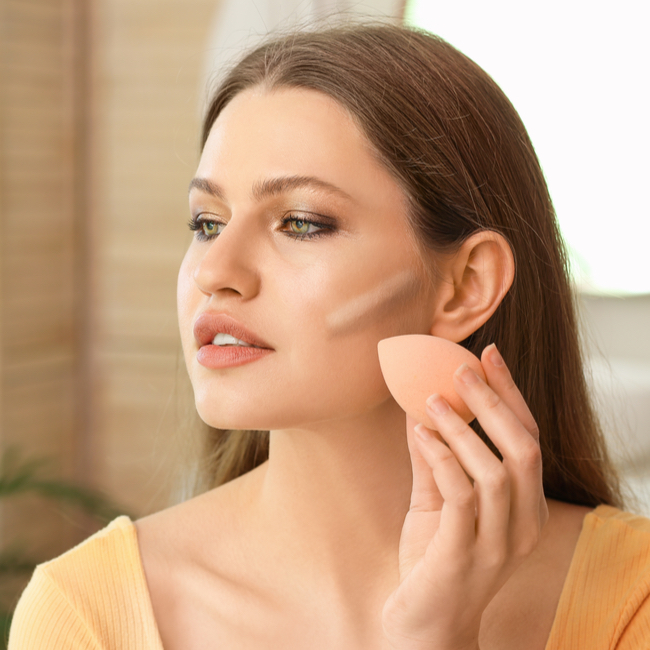
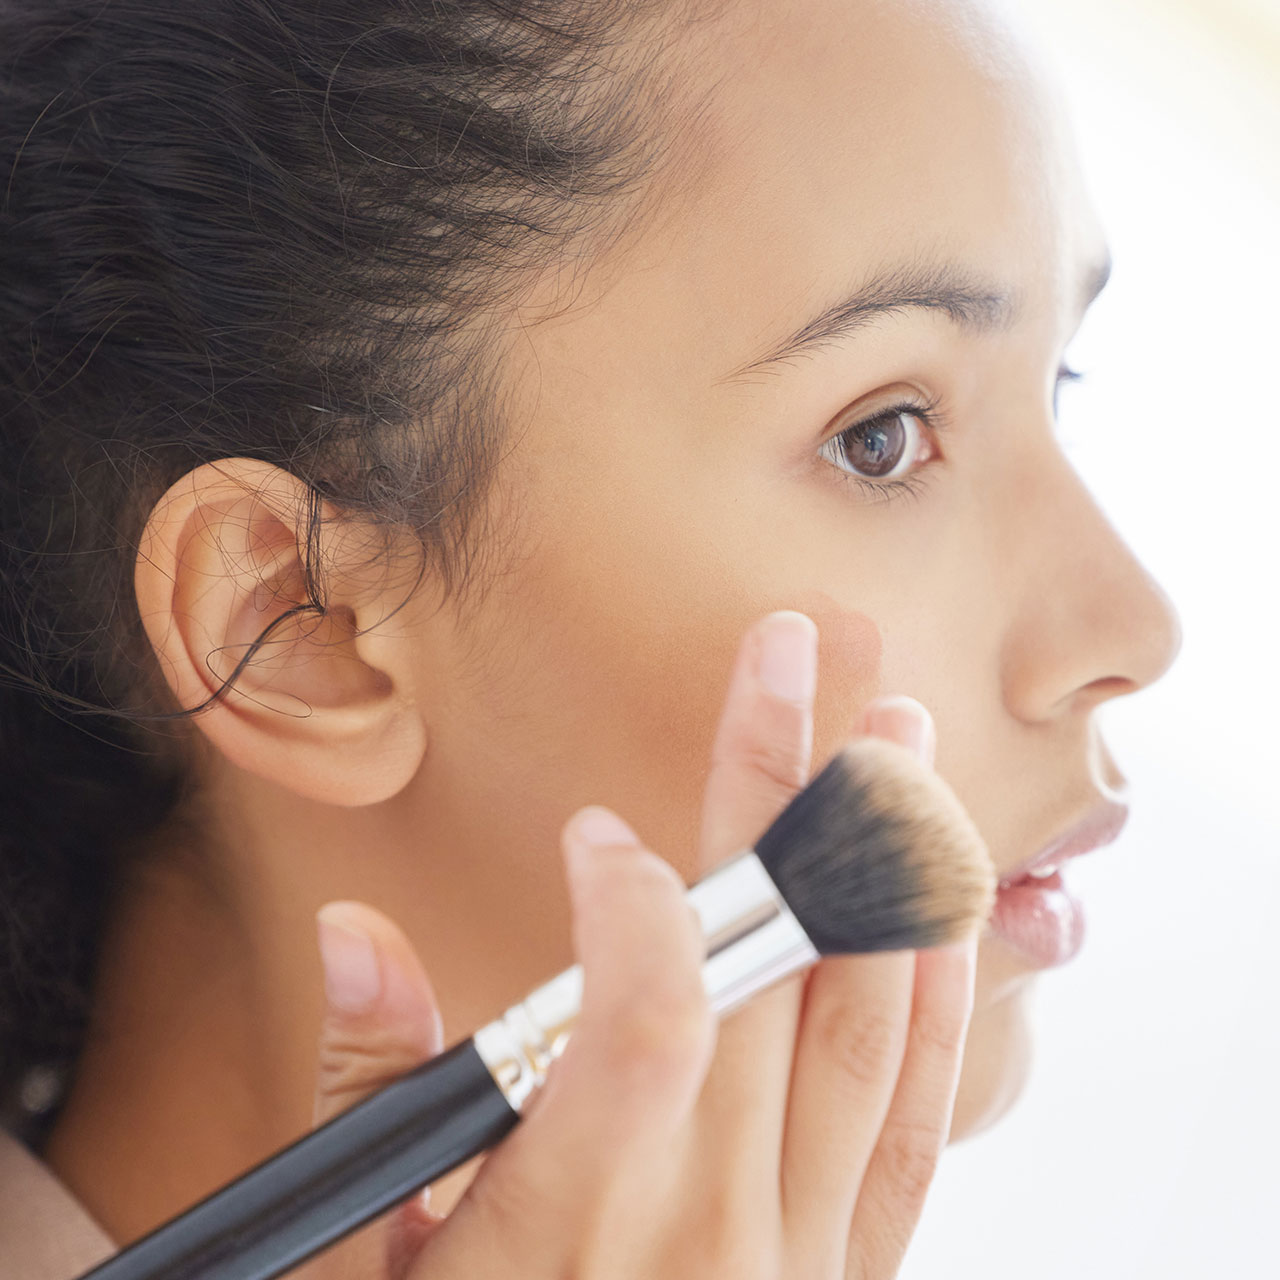
The art of contouring remains a powerful and enduring makeup technique as it can instantly transform your face without ever needing to go under the knife. With the right products for your skin type and masterful dabs of a beauty blender, you can learn to accentuate your best features, like cheekbones, eyes, jawline— and of course— your nose, at any age.
We checked in with celebrity and professional makeup artist Natasha Moor, founder of Natasha Moor Cosmetics, who gave 6 go-to, no-fail tips for contouring the feature at the center of your face. While you might find certain techniques that work for you and your complexion through your own individual experimentation with makeup, Moor explains that the following steps can provide you with support and guidance to fall back on (no matter if you’re a beginner to the whole thing or frequent nose contouring guru!)
Follow along with Moor’s tips above (nose contouring begins at 05:40) and find her in-depth advice below:
1. Map Out Your Contouring Goals
First off, Moor says that before even taking any product to your face, it’s vital to know why you’re contouring, and the ideal final results you envision for your nose look. “I love to contour to give the illusion of a slimmer face, define cheekbones, the jawline, slim the nose, and most importantly, give more confidence,” Moor says. With the help of her line’s ‘Take Control Contour Stick,’ Moor says that she is able to “seamlessly sculpt and create sharper features” on her face. “A technique used by so many celebrities and makeup artists, [contouring is] the perfect red-carpet secret to building an illusion and sculpting your face.”
Before applying any makeup, Moor stresses the importance of finding the right primer for your skin type, prepping the skin for the contouring process and giving yourself a clean slate to work with. After this, she says to keep the following pointers in mind as you prepare to blend and highlight your nose: “Attention goes first to the darkest color on the face. Then, it follows the line/angle,” she says. Upward angles, she adds, give a “lifted, youthful appearance” and ultimately, contouring with a darker color “makes the features appear smaller.” At the end of the contouring steps (we’ll walk you through them all!), Moor says that highlighting with “lighter colors” makes features appear “larger and draws your attention.”
2. Cover Your Nose With A Powder Base
After priming your nose and having a vision for your overall look, Moor says to provide yourself with a base to work with— a powder that matches your nose’s skin tone. “Apply powder in a shade that matches your skin tone to your nose to create a surface that’s all one color,” she says.
View this post on Instagram
3. Apply a Creamy Contour Stick and Blend with a Beauty Sponge
With powder setting the tone for the rest of the tools to come, Moor says to next take a creamy contour stick (she uses her label’s ‘Take Control Contour Stick’) and place a tad of product on the flatter edge of your beauty blender or makeup sponge (she goes for her microfiber ‘Warrior Beauty Sponge’). “Next, apply Natasha Moor Take Control Contour Stick on the flat square edge of your multi-surfaced vegan, microfiber Natasha Moor Warrior Beauty Sponge,” she advises.
4. Press Your Sponge (with Product On It) Into The Bridge Of Your Nose
Now, with your beauty blender ready to go with contouring cream on it, Moor says to press the tool into the bridge of your nose, opting for a shadowy effect. “To chisel and slim your nose, press the edge of the Warrior Beauty Sponge into the bridge of your nose to create a soft shadow, connecting the line to your eyebrow,” she adds.
Moor then says to repeat this on the opposite side. A pro tip she gives is that “the wider the space between the lines, the wider your nose will look.” Conversely, the “less space between the lines,” the slimmer your nose will look, she emphasizes. You can even take the contour color over your eyelids, she points out for a “coordinated look” as an optional step.


5. Use Concealer to Create a Line in the Center Of Your Nose
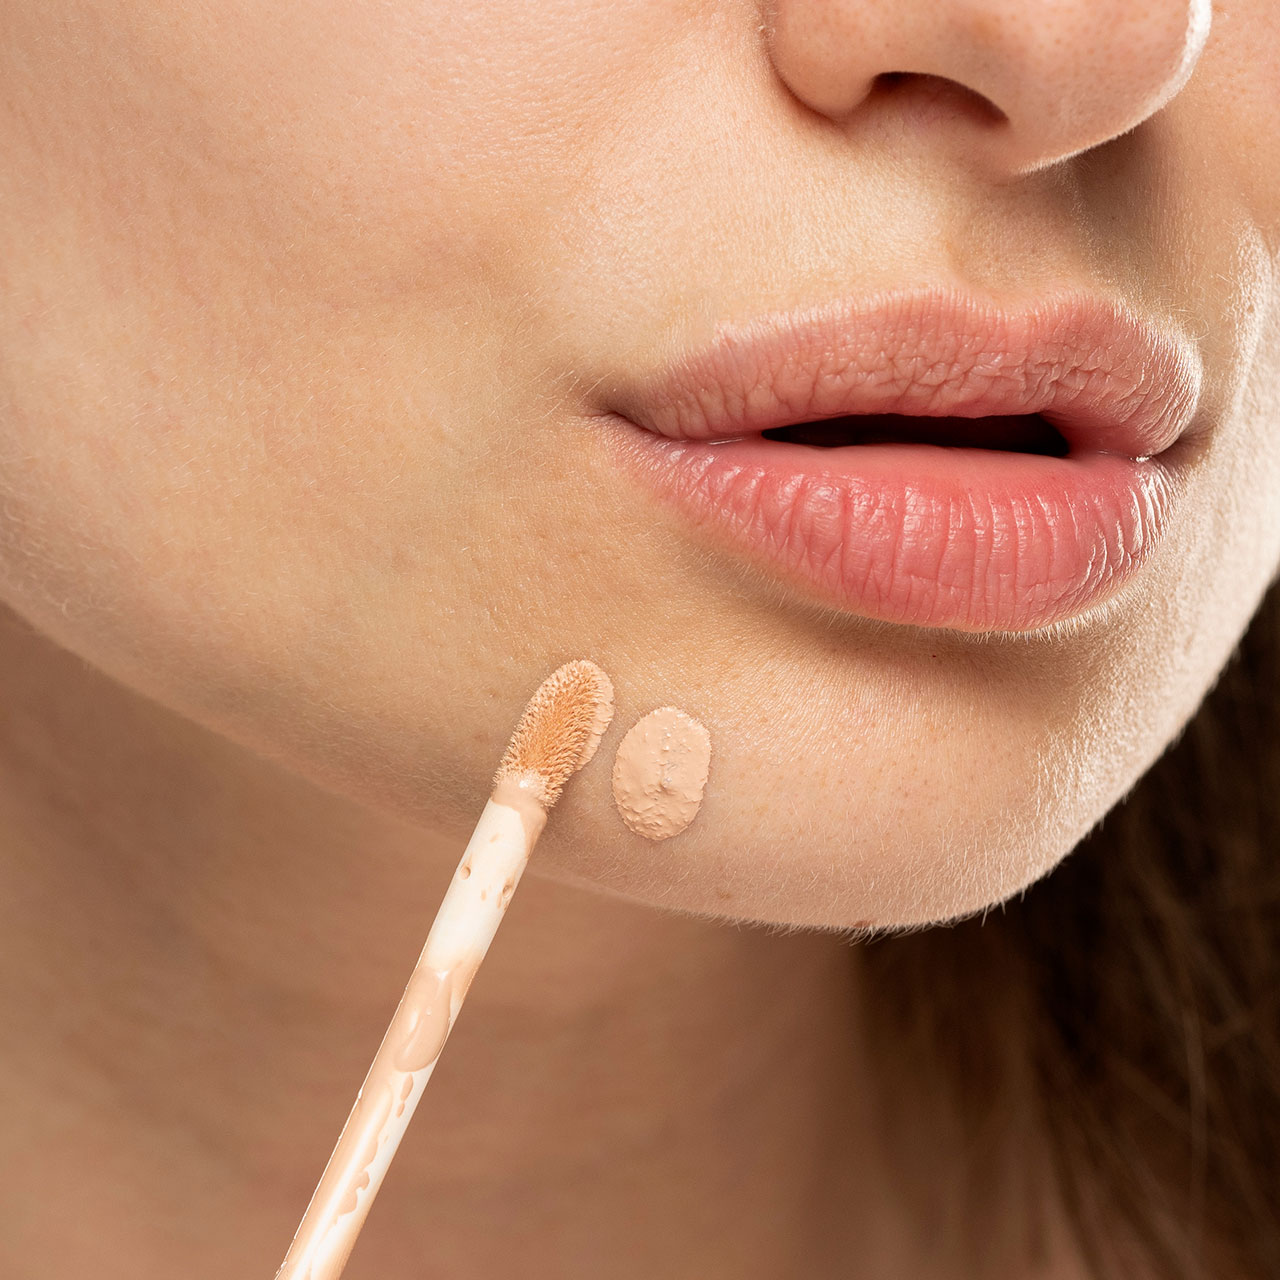
After creating a shadowy blend across your nose, Moor says that using concealer to highlight the center will create a slimmer, sharper and bolder look overall. As Moor uses the 'Natasha Moor Liquid Magic,' what she deems a "versatile concealer that doubles as a matte highlighter," she says to now "draw a straight line down the center of your nose." With your makeup sponge or beauty blender, Moore then suggests "pressing the product into your skin so your nose looks nice and sharp."
6. Apply a Small Line of Concealer Above Each Nostril
The final step for contouring your nose involves applying concealer above your nostrils— and blending once more— to further thin the feature, according to Moor. "Finally, apply a small line of concealer straight up right above each nostril, and blend," she says. The "most important" piece of advice to remember during this step, she concludes, is that the "closer you pinch the lines together on the sides of your nose," the thinner your nose will appear overall. The more you know!


