


Women Are Swapping Their Boring Water For This Ice Pop Electrolyte Mix!
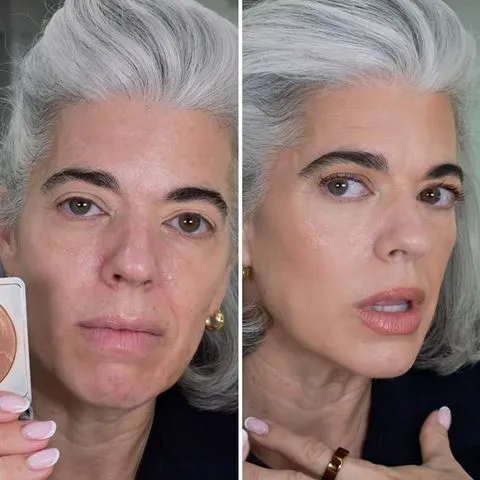
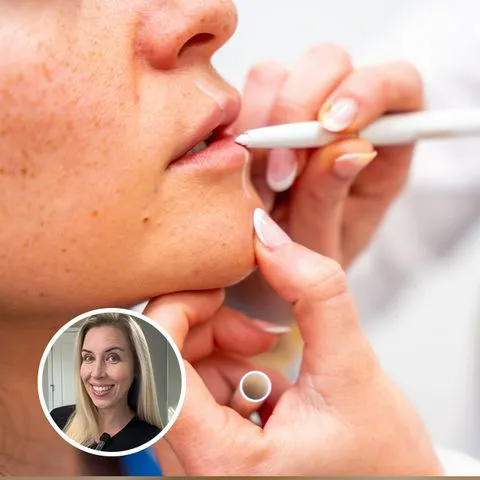
Some of us aren’t blessed with naturally dark eyebrows, but we can thank the beauty industry for helping us fake it ’til we make it. While you can get your brows professionally done at a salon, there’s also tons of DIY kits you can use to achieve your desired look for a fraction of the cost. Sound like a project you’re eager to tackle? Read on to find out how to tint your brows in your very own home.
What you’ll need:
- Vaseline
- Eyebrow Tint
- Tint Remover
- Clean Mascara Wand
- Spoolie Brush
- Cotton Swabs
- Cotton Pad
Step 1
First, remove any makeup from your brows and use a spoolie brush to style them as you normally would.
Step 2
Apply Vaseline around your brows to prevent the tint from staining your skin.
Step 3
Now, prep your concoction. When choosing a kit, we recommend trying Godefroy’s Instant Eyebrow Tint Permanent Color Kit in Light Brown, which is an easy-to-use and affordable option for newcomers. You’ll want to start by mixing the capsule of color provided with an equal amount of developer cream (to determine sizes, it helps to separate the colored powder and cream on one side of your bowl before you mix them together). Next, use the little wooden stick in the packaging to mix the ingredients into a creamy paste.
Step 4
You can apply the tint using the wooden stick or a spoolie (the former option provides slightly more control). Whichever method you choose, start at the front of the brow where your hair is denser and move through to the other end. Then, comb your brows with a clean mascara wand to create natural, hair-like strokes. Once you’ve finished one brow, stop. This step is extremely important; you’ll want your brows to have equal processing time so they match.
Step 5
Clean up any excess tint around your brows with a cotton swab dipped in tint remover. It’s okay to leave a little bit of tint around your eyebrows to pick up any fine hairs.
Step 6
Start a timer for your brow. Processing times vary, but blonde brows usually require around one to two minutes of setting. If you’re looking to cover up grays or get super intense brows, though, you can leave the tint on for up to 10 minutes. You may even want to add an extra 15 to 20 seconds to your wait time, since at-home tints typically end up fading faster than salon versions.
Step 7
Use a wet cotton pad to completely wipe off the tint. Make sure you don’t leave any tint on your brows, as remaining dye will continue to process. As such, you may want to wash your face after you finish to ensure no tint is left behind.
Step 8
Repeat the whole process again on the other eyebrow.
Final notes
Even if you initially think your brows look too dark, wait to make any judgments until they dry (they’ll be wet when you first finish). If you still feel like they look too dark, try scrubbing your brows with a cleanser and toner to help the color fade. If you think they look too light, you can try the process again. The box claims the tint will last up to six weeks, but you may find yourself in need of a refresh after the third or fourth week.
For even more at-home beauty tips, check out 6 Of The Best DIY Face Treatments From Pinterest and 5 DIY Hair Treatments That Will Totally Transform Your Strands.
[Photo: Facebook]